
Whether you’re looking to overhaul your bathroom or make some minor updates, this step-by-step guide will walk you through remodeling your bathroom.
So, roll up your sleeves and get ready to transform your bathroom into a functional and stylish space.
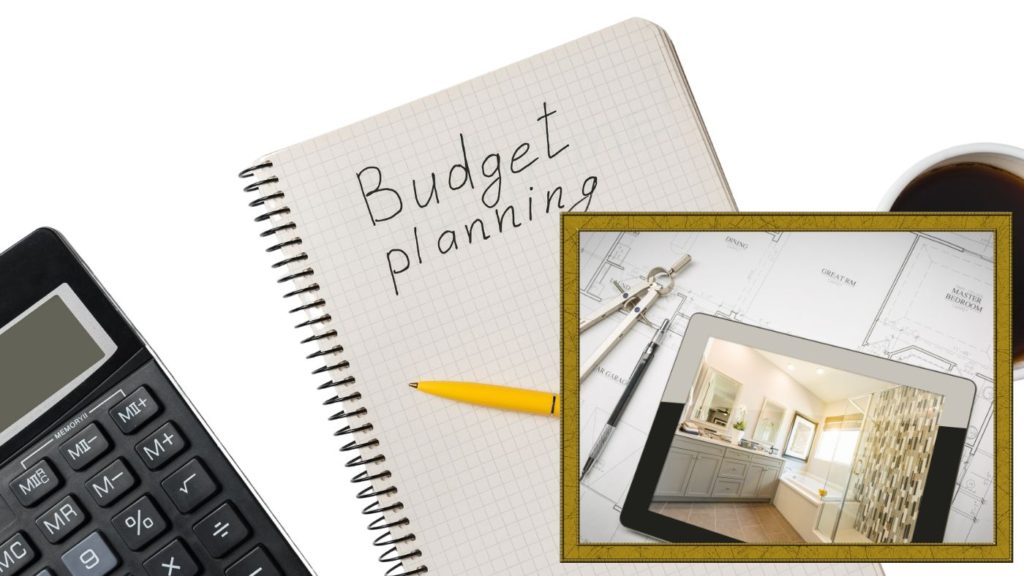
1. Plan and Budget
 `
`Determine Your Goals
The first step in any successful bathroom remodel is clearly defining your goals. Ask yourself, “What do I want to achieve with this remodel?” Are you looking to create a spa-like oasis in your master bathroom, update a half-bath or powder room, or make your bathroom more kid-friendly? Your goals will shape the entire remodeling process, so take some time to think about what you truly want to accomplish.
Create a Budget
Once you’ve established your goals, it’s time to create a budget. A well-thought-out budget ensures you don’t overspend on your bathroom remodel. Consider all costs, including materials, labor, permits, and even unexpected expenses that may arise during the project. A clear budget will help you make informed decisions throughout the remodeling process.
2. Design and Layout
Measure the Space
Before diving into any physical work, start by measuring your bathroom space. Creating a detailed floor plan will serve as a roadmap for your project. Measure the length and width of the room, as well as the height of the walls. Note the locations of existing fixtures, windows, and doors. This information will be crucial when selecting new fixtures and planning the layout.
Decide on the Layout
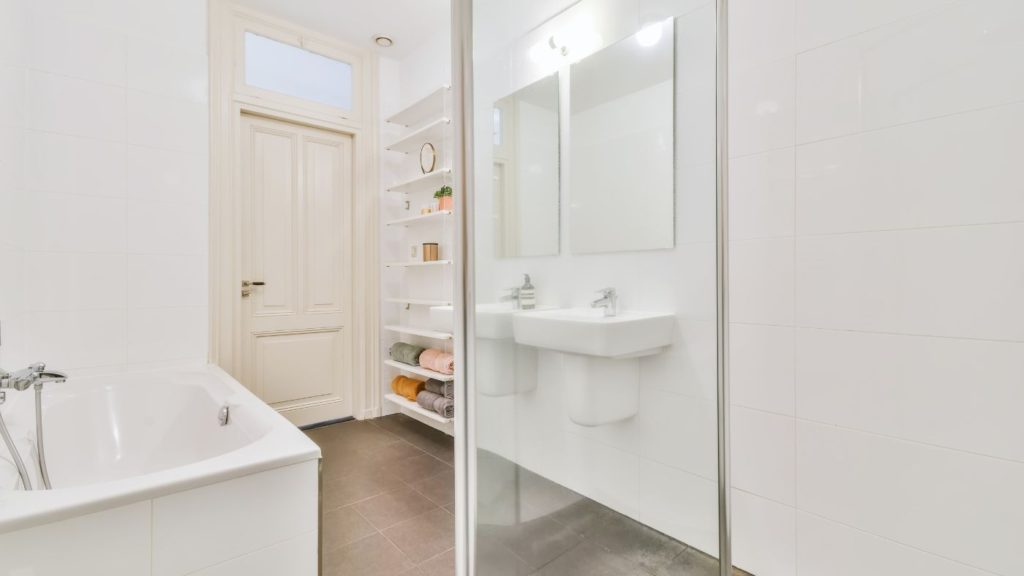
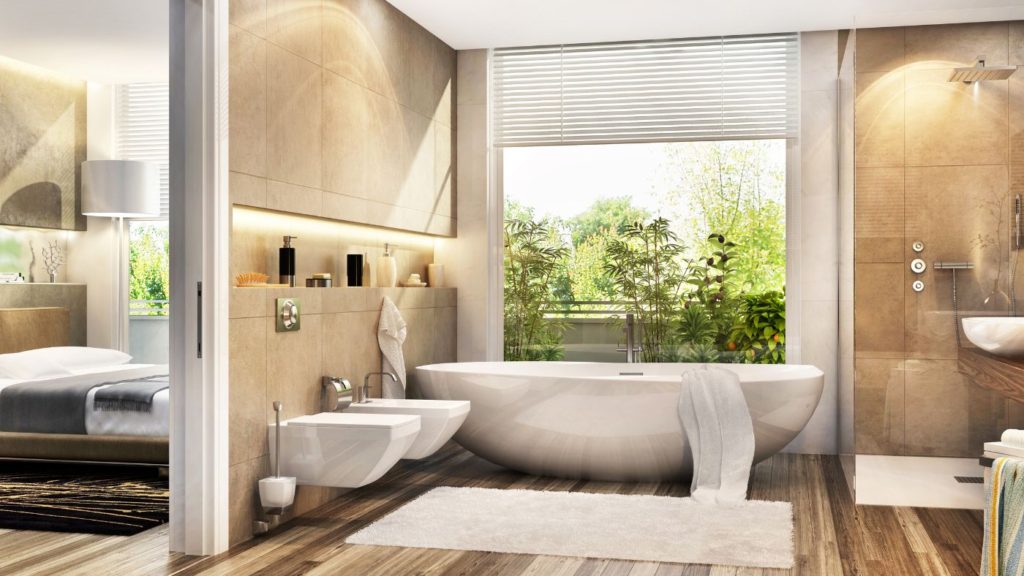
Next, decide on the layout of your bathroom. Consider the placement of fixtures like the toilet, sink, shower, walk-in shower and bathtub. Think about the flow of the space and how you can optimize it for your needs. A well-thought-out layout will make your bathroom more functional and visually appealing.
3. Select Materials
Now comes the fun part – selecting materials and finishes to give your bathroom its unique character.
Choosing Bathroom Backsplash
Choose a backsplash that complements your overall design. Whether you prefer classic subway tiles or a bold mosaic pattern, the backsplash can add color and texture to your bathroom.
Choosing Lighting
Designing the right lighting scheme is crucial for creating the desired ambiance. Consider wall sconces, pendant lights, and even a stylish chandelier for added elegance.
Choosing Cabinets and Vanity
Selecting the right cabinet and vanity is not only about aesthetics but also functionality. Think about storage space, countertop materials, and hardware that match your bathroom’s style.
Choosing Bathroom Flooring
Choose a bathroom flooring material that is both durable and aesthetically pleasing. Options include porcelain tiles, natural stone, or even hardwood if it suits your design.
Choosing Bathroom Fixtures
Select fixtures that align with your goals for the bathroom. Do you want a sleek, modern look or a more traditional feel? Faucets, showerheads, and handles should all reflect your chosen style.
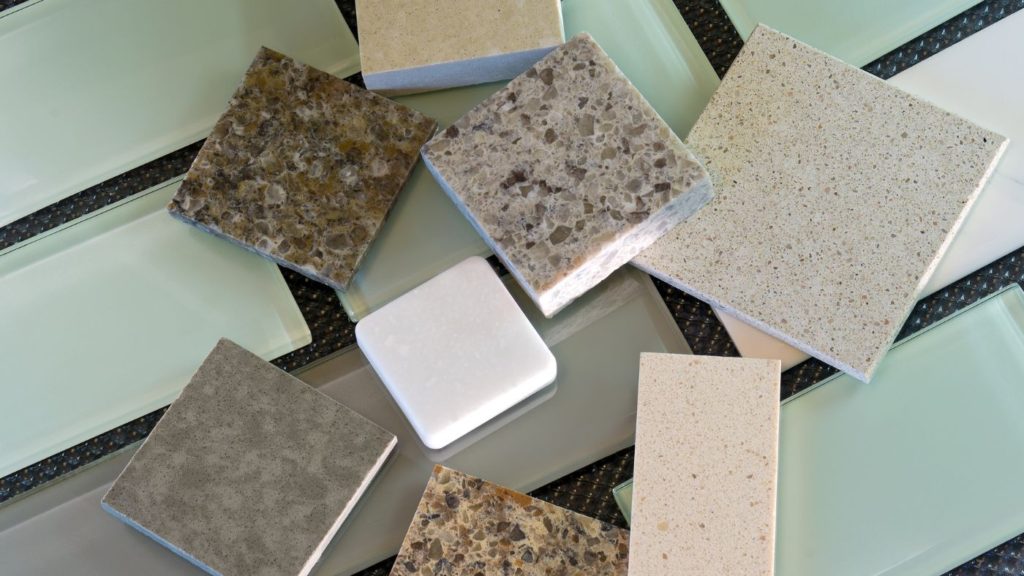
Choosing Bathroom Countertops
Consider materials like granite, quartz, or marble for your countertops. These not only look luxurious but are also easy to clean and maintain. Read more here, about Choosing Bathroom Countertops.
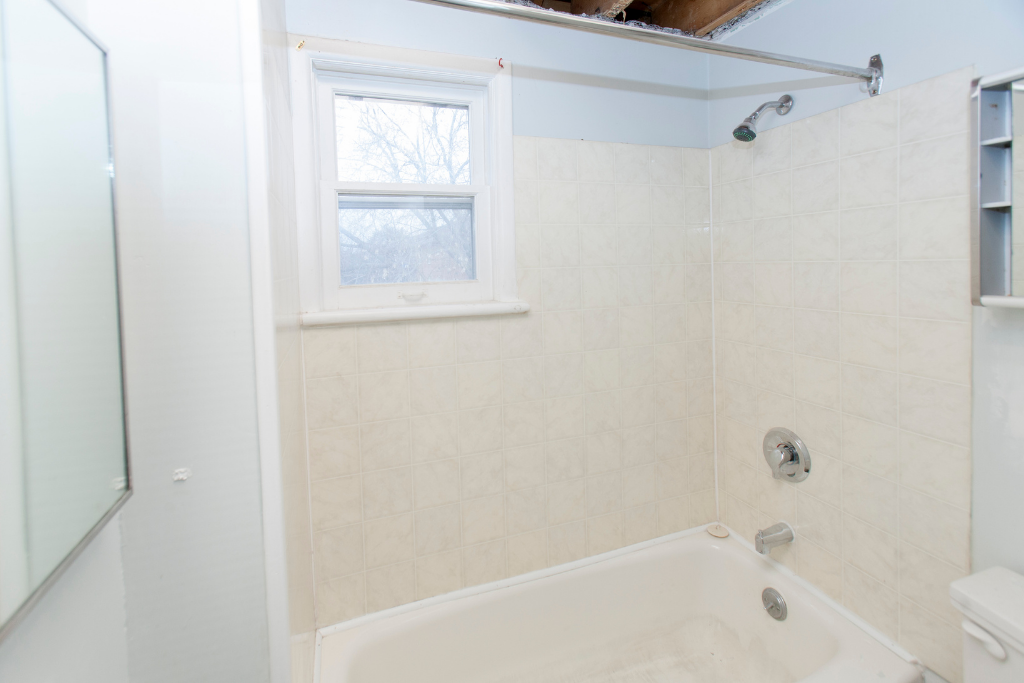
4. Demolition – Removing the Old
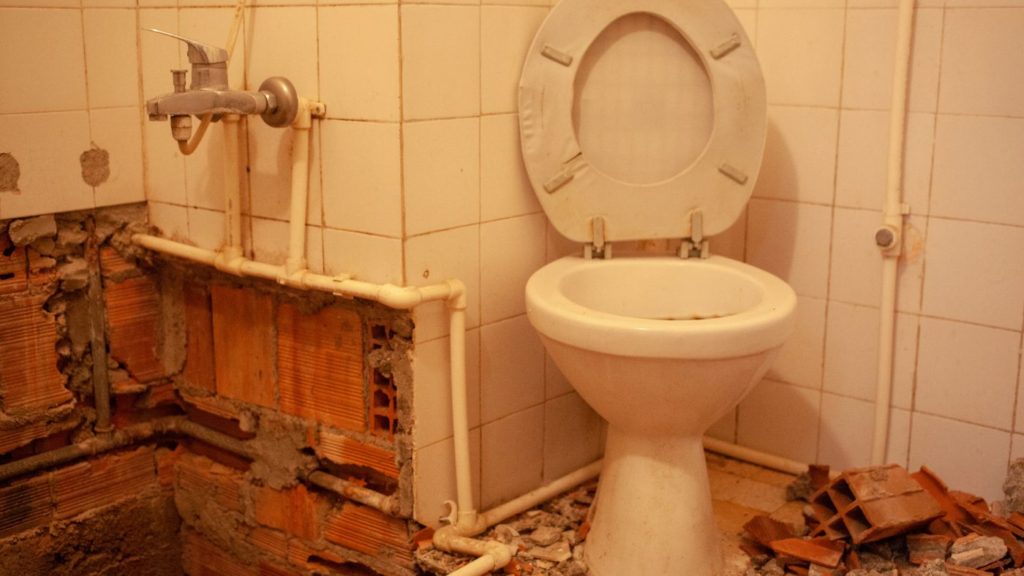
Now that you’ve selected, it’s time to get your hands dirty. Start by removing existing fixtures, tiles, and any unwanted elements. Be cautious of plumbing and electrical systems during demolition to avoid unnecessary complications.
5. Plumbing and Electrical Work
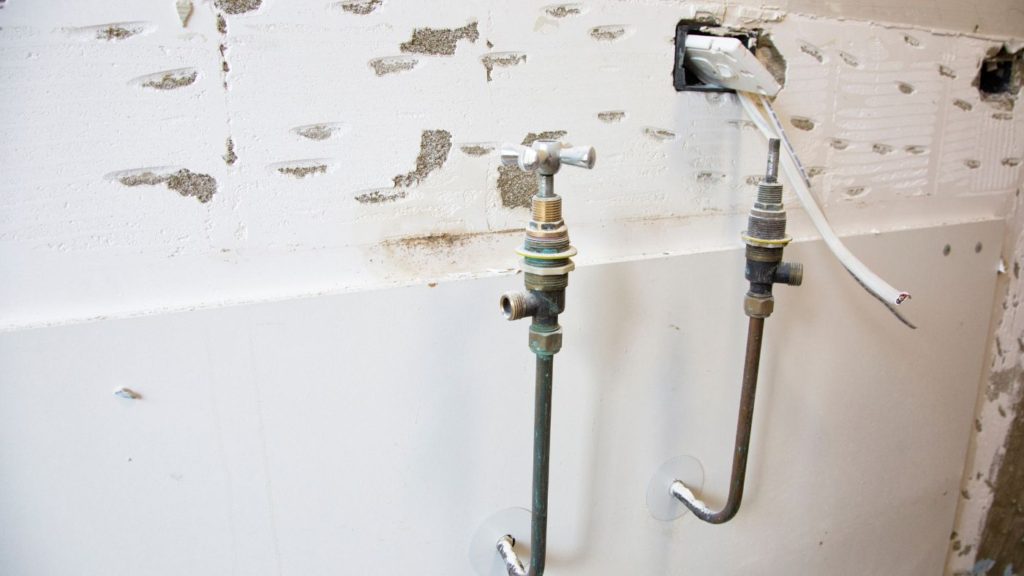
With the old removed, it’s time to update or relocate plumbing and electrical systems as needed. If you’re not experienced in these areas, it’s best to hire a professional to ensure everything is done correctly and up to code. Install new fixtures, outlets, and switches according to your design plan.
6. Preparation : Repair and Waterproofing
Before moving on to the finishing touches, take the time to repair and prepare the walls and floors for new tiles or other finishes. Proper waterproofing is crucial in wet areas to prevent moisture damage. Apply a waterproof membrane to safeguard your investment.
7. Tile and Flooring Installation : Precision Matters
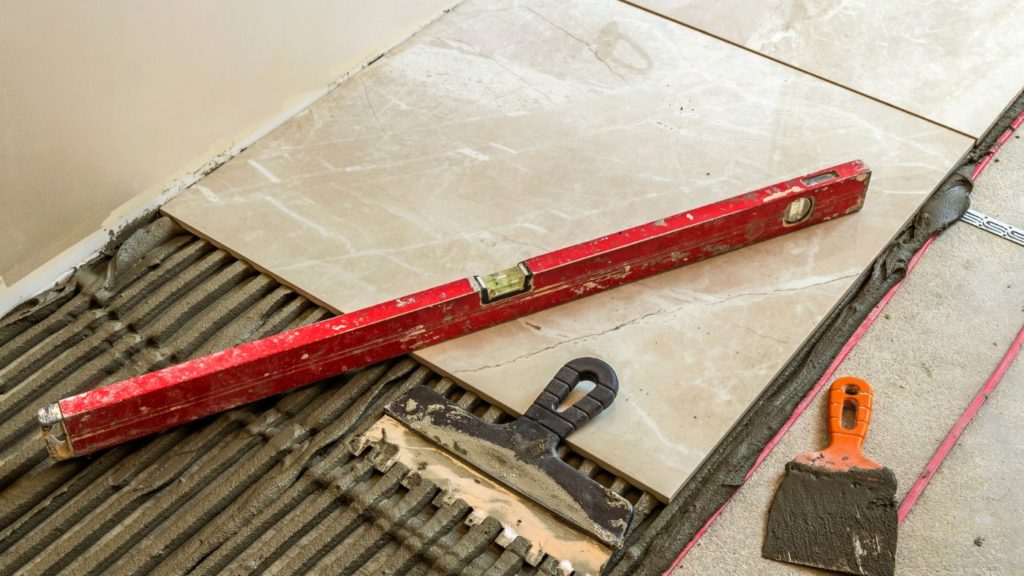
Now, it’s time for the transformation to take shape. Install tiles on the walls and floors according to your design. Ensure they are properly spaced and level. The precision in this step is what will make your bathroom look truly professional. Allow time for the grout to cure and seal it to prevent moisture infiltration.
8. Fixture Installation – Bringing It All Together
It’s finally time to bring your vision to life. Install the new toilet, sink, shower, bathtub, and other fixtures. Make sure to connect plumbing lines carefully and ensure they are leak-free. A proper installation will ensure the functionality of your bathroom for years to come.
9. Cabinetry and Countertops – The Finishing Touches
With the fixtures in place, it’s time to install bathroom cabinets and countertops. Please make sure they are level and securely anchored to the wall. This step is about functionality and adds a polished look to your bathroom.
10. Paint and Finish – Adding Personality
Now that your bathroom is taking shape consider adding a fresh coat of paint to the walls and ceiling if necessary. This is also the time to install any additional decorative elements like mirrors, towel racks, and shelving. These finishing touches will give your bathroom that personal touch.
11. Lighting and Ventilation – The Right Atmosphere
Proper lighting and ventilation are essential for creating a comfortable bathroom environment. Install new lighting fixtures that match your design and ensure proper ventilation to prevent moisture buildup. Consider energy-efficient and moisture-resistant lighting options for added convenience.
12. Final Inspection – Leave It to the Professionals
Before you start enjoying your newly remodeled bathroom, have a professional inspect your work, especially plumbing and electrical installations. This step ensures that everything is up to code and functioning correctly. Make any necessary adjustments to guarantee the longevity of your investment.
13. Clean and Decorate – The Grand Reveal
As you wrap up the project, it’s time to clean up any debris and dust that may have accumulated during the remodeling process. Once your bathroom is sparkling clean, decorate it with towels, shower curtains, and other accessories that match your style and vision.
14. Enjoy Your New Bathroom – Relax and Rejoice
Take the time to appreciate your newly remodeled bathroom and its improved functionality and aesthetics. Enjoy the satisfaction of a job well done, and indulge in the comfort of your transformed space.
15. Maintenance – Keeping It Pristine
Regular maintenance is the key to preserving the beauty and functionality of your remodeled bathroom. Make it a habit to clean and check for any issues regularly so that you can address them promptly. By taking good care of your bathroom, you’ll ensure that it continues to shine for years.
Conclusion
Remember that bathroom remodeling can be a complex project, and it’s often best to consult with professionals for certain tasks, especially if you lack experience in plumbing or electrical work. Additionally, check local building codes and obtain any necessary permits before starting your project to ensure compliance with regulations. If you need a bathroom remodeler in Jacksonville, FL, please call Jacksonville Bathroom Remodel.